How to Waterproof Below Grade Walls Properly

A finished basement wall can look dry for years while moisture is slowly finding its way through the soil, footing area, or smallest gap in the exterior protection. To waterproof below grade walls properly, the foundation must be treated as part of a complete water-management system, not simply coated with a black membrane and covered back up.
For homeowners, builders, and project teams in the North Okanagan, that distinction matters. Seasonal snowmelt, heavy rain, sloped lots, clay soils, and hillside construction can all direct water toward a foundation. The result may be damp basement finishes, musty odors, efflorescence on concrete, freeze-thaw damage, or pressure against walls that were never intended to hold standing water.
Why Below-Grade Walls Need More Than a Coating
Concrete is durable, but it is not automatically waterproof. It can absorb moisture through pores, allow water through cracks, and leak at joints, penetrations, tie holes, and the wall-to-footing connection. Even a well-formed structural wall needs exterior protection when soil is placed against it.
The greater issue is hydrostatic pressure. When groundwater or surface runoff becomes trapped beside a foundation, it creates pressure that pushes water against the wall. A coating alone may resist some moisture, but it cannot solve a drainage problem. Long-term foundation protection depends on moving water away before it has the chance to build pressure.
This is why below-grade waterproofing should be planned alongside structural forming, footing drains, backfill, grading, and surface water control. Each component has a job. If one is missed or installed poorly, the entire assembly becomes less dependable.
How to Waterproof Below Grade Walls as a System
A dependable installation begins before the wall is backfilled. Once soil is against the exterior wall, correcting a missed detail becomes far more disruptive and expensive. The work should follow the foundation design, local requirements, soil conditions, and the site drainage plan.
Start with sound concrete and clean preparation
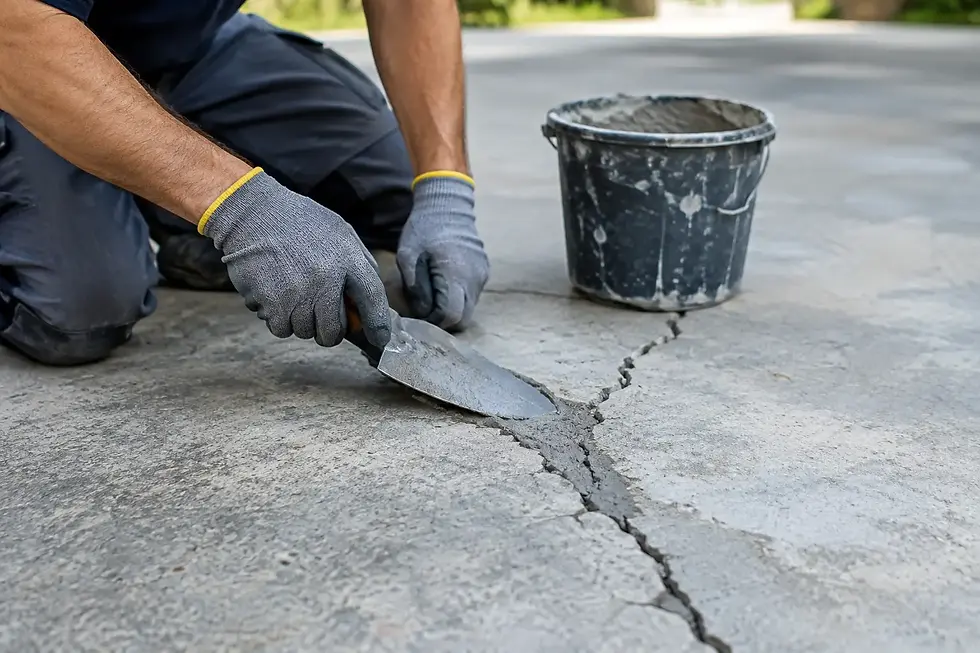
Waterproofing materials perform best on a properly cured, clean wall. Honeycombing, visible voids, form-tie holes, cracks, and rough areas should be assessed and repaired before the membrane is applied. The wall-to-footing joint deserves particular attention because it is a common entry point for water.
Structural integrity comes first. If a crack is active, widening, or related to movement, applying waterproofing over it does not address the underlying issue. A qualified contractor should determine whether the wall needs crack repair, structural review, or drainage corrections before exterior protection proceeds.
Select the right waterproofing approach
The terms dampproofing and waterproofing are often used interchangeably, but they are not the same level of protection. Dampproofing is generally intended to resist moisture in the soil. Waterproofing is designed to resist water under pressure and typically involves a more substantial membrane system with carefully treated seams, transitions, and penetrations.
The appropriate system depends on the site. A shallow foundation in well-draining granular soil may have different needs than a full basement on a hillside lot with runoff moving toward the building. Existing homes also require a different approach from new construction because excavation access, landscaping, utilities, and finished surfaces affect the scope.
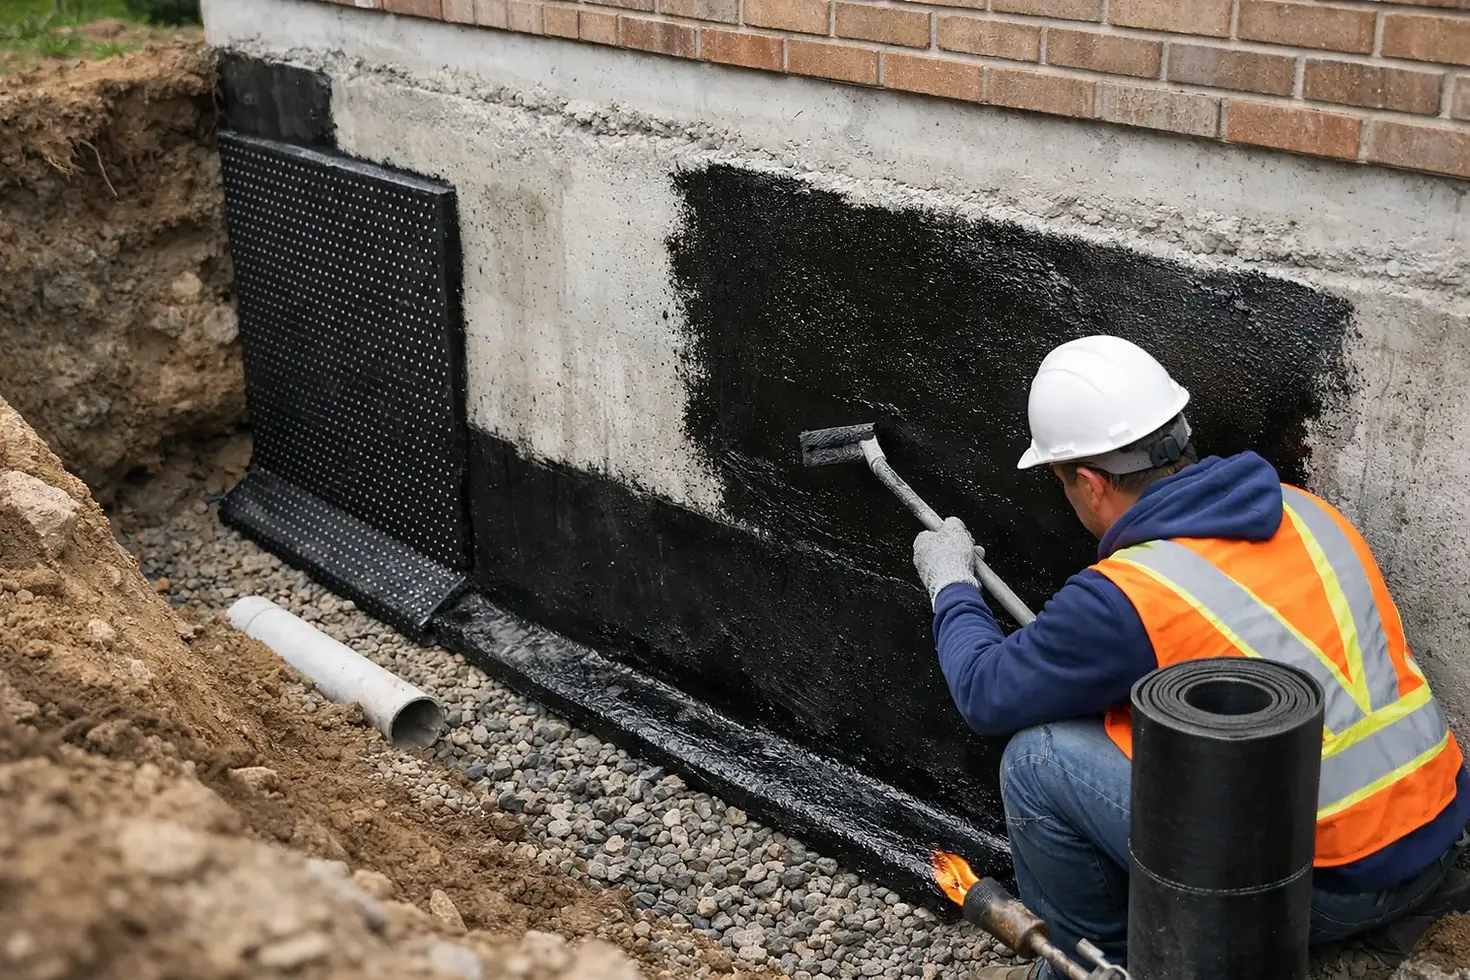
Common exterior systems include liquid-applied membranes, sheet membranes, and drainage-board assemblies. The material itself matters, but installation quality matters just as much. Membrane laps must be sealed, corners detailed, and vulnerable areas protected from damage during backfill.
Install footing drains where water can be collected
A footing drain is not an optional afterthought. It is the primary means of collecting groundwater near the foundation and directing it to an approved discharge point. The drain should be placed at the footing level, surrounded by clean drain rock, and protected with filter fabric where soil conditions call for it.
A drain line that is crushed, poorly sloped, filled with fines, or discharged in the wrong location will not perform as intended. Nor will it solve water problems if roof runoff and uphill surface water are still being directed toward the foundation. Drainage design must account for where the water starts, how it travels across the site, and where it can safely go.
Protect the membrane during backfill
Backfill can damage even a high-quality waterproofing membrane. Drainage board or a compatible protection layer helps prevent tears and punctures while creating a vertical path for water to reach the footing drain. It also reduces the chance that soil will sit directly against the membrane and hold moisture in place.
The backfill material should be selected and placed carefully. Large sharp rock, construction debris, and uncontrolled compaction near the wall can compromise the protection system or place unnecessary stress on the foundation. Proper compaction is still necessary, especially near future driveways, patios, and walkways, but it must be carried out with the wall and drainage assembly in mind.
Finish with grading that sheds surface water
The final grade is one of the most visible and most neglected parts of foundation waterproofing. Soil, landscaping, paving, and hardscape should slope away from the building so rainwater does not pond beside the wall. Downspouts should discharge well away from the foundation or into a properly designed drainage system.
This detail is especially important on sloped properties. Water naturally follows the path of least resistance, and a hillside can concentrate runoff at one side of a home. Swales, retaining systems, interceptor drains, and custom-engineered drainage systems may be needed to manage water before it reaches the structure.
Details That Commonly Cause Leaks
Most below-grade leaks are not caused by one dramatic failure. They develop at transitions where different materials meet or where the waterproofing sequence was interrupted. Careful detailing at these points protects the investment in the entire foundation system.
Pay close attention to service penetrations for water, sewer, electrical, and mechanical lines. These openings need compatible seals that accommodate the membrane and the penetration itself. Window wells, foundation steps, exterior stairs, and attached garage transitions also need clear drainage routes. A window well without drain rock and a functioning drain can quickly become a water reservoir against the foundation wall.
Cold joints require the same discipline. Where a wall meets a footing, where concrete pours stop and restart, or where an addition meets an existing foundation, water can exploit even a narrow discontinuity. Waterstops, sealants, membrane transitions, and proper concrete placement should be coordinated before the work begins.
New Construction Versus Existing Foundation Repairs
New construction offers the best access and the best opportunity to get the system right. The exterior wall is exposed, the footing drain can be installed before landscaping begins, and grading can be planned around the finished elevations. Builders benefit from setting expectations early so waterproofing, drainage, and exterior flatwork do not conflict later in the schedule.
Existing foundation repairs are more selective. Exterior excavation is often the most durable solution when a wall has persistent leakage, because it allows the contractor to inspect the concrete, repair defects, install new exterior waterproofing, and correct the drainage at the source. It can also affect decks, patios, landscaping, fences, and utility locations, so a clear fixed-price scope and careful site protection are essential.
Interior crack injection or interior drainage may be appropriate in certain situations, particularly where exterior access is limited. These methods can manage a specific leak or collect water after it enters the wall area, but they do not always remove the exterior water pressure that caused the problem. The right solution depends on the failure point, site constraints, and the long-term use of the space.
Signs Your Foundation Drainage Needs Attention
A basement leak is not the only warning sign. White mineral staining on concrete, peeling finishes, damp carpet edges, rusted metal components, recurring mold odor, and water collecting near exterior walls all justify investigation. On the outside, settled soil, disconnected downspouts, blocked drains, and hardscape that slopes toward the home can create avoidable risk.
Do not assume that a dry spell means the problem is gone. Many drainage failures appear only during prolonged rain, spring thaw, or rapid snowmelt. Document when and where moisture appears. That information helps identify whether the source is surface runoff, groundwater, a roof-drainage issue, a plumbing leak, or a foundation defect.
Build for Dry Conditions, Not Just Dry Weather
Waterproofing work is buried work. Once it is covered, the quality of the materials, drainage layout, membrane detailing, and backfill practices is no longer visible. That is why it deserves a disciplined scope, clear communication, and crews who understand both concrete construction and water management.
Rize Construction approaches foundation protection with the same focus used for structural forming and hillside concrete work: assess the site, define the drainage path, protect the foundation integrity, and complete the work with respect for the property. A dry, usable lower level starts with managing water outside the wall, where it belongs.

Comments